Step-by-Step Guide to Set Up Google Merchant Center (GMC)

Table of Contents
Toggle
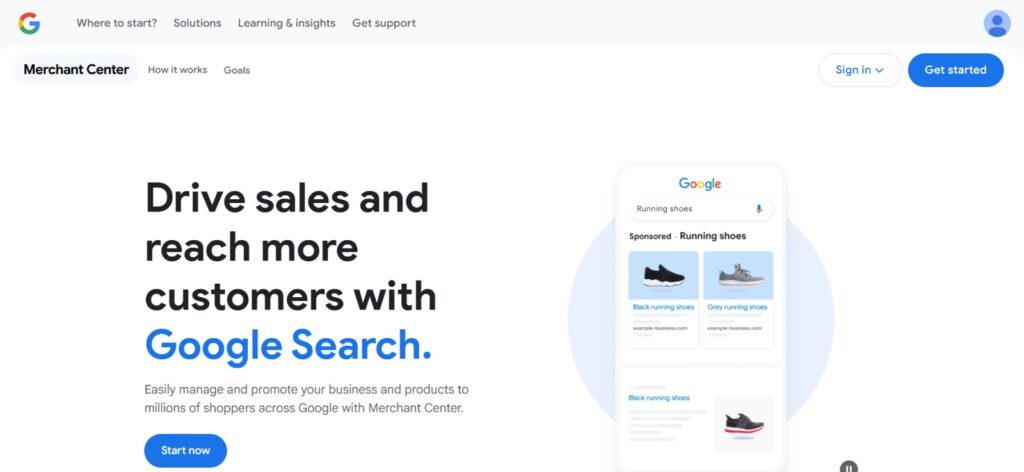
Google Merchant Center (GMC) is an essential tool for businesses that want to showcase their products on Google Shopping, Search, and other Google services. Setting up your GMC account correctly ensures better visibility and increases your chances of driving sales.
Here’s a step-by-step guide to setting up Google Merchant Center, common issues you may face during verification, and how to provide access to others.
Steps to Set Up Google Merchant Center
STEP 1: Visit Google Merchant Center
Go to Google Merchant Center and log in using your Google account.

STEP 2: Click on ‘Get Started’
Once logged in, click on the “Get Started” button to begin the setup process.
STEP 3: Enter Business Information
Provide your business name, country, and time zone. Make sure to enter the correct details as they will be used for product listings and ads.

STEP 4: Choose Where Customers Check Out
You will be given three options:
- On your website (if you sell directly through an online store)
- On Google (for Buy on Google feature, available in some countries)
- At your physical store (for local inventory ads) Choose the most appropriate option for your business.
STEP 5: Set Up Email Preferences
Select the types of notifications you want to receive regarding updates, promotions, and Google policies.
STEP 6: Agree to Terms & Conditions
Read and accept Google Merchant Center’s Terms of Service to proceed.
STEP 7: Verify and Claim Your Website
This step is crucial to ensure your product listings are approved.
- HTML File Upload: Download the HTML file and upload it to your website’s root directory.
- HTML Tag: Copy a meta tag and paste it into the <head> section of your website.
- Google Analytics: If you have Google Analytics installed, verify through it.
- Google Tag Manager: If you use Google Tag Manager, you can verify using the account.
Once the verification is complete, click ‘Claim URL’ to finalize ownership.
STEP 8: Add Product Feed
- Navigate to Products > Feeds
- Click on ‘+’ to create a new feed
- Choose a target country and language
- Select how you want to input product data (Google Sheets, Scheduled Fetch, or API)
- Upload product data following Google’s guidelines
STEP 9: Connect to Google Ads (Optional, but Recommended)
To run Shopping Ads, link your GMC account to Google Ads by going to Tools & Settings > Linked Accounts.
STEP 10: Review and Submit for Approval
Once all the information is submitted, Google will review your account. The review process usually takes 3-5 business days.

Want an expert to Implement Structured Data on Your Website
How to Give Access to Google Merchant Center
STEP 1: Log in to Google Merchant Center
Visit Google Merchant Center and log in.
STEP 2: Go to Account Settings
Click on the tools icon (⚙️) in the top-right corner and select People and Access.

STEP 3: Add a New User
Click on the ‘+’ button and enter the email address of the user you want to invite.

STEP 4: Choose Access Level
- Admin: Full access to the account, including adding/removing users.
- Standard: Can manage product data but cannot add/remove users.

STEP 9: Send Invitation
Click Invite and wait for the user to accept the invitation.
Final Thoughts
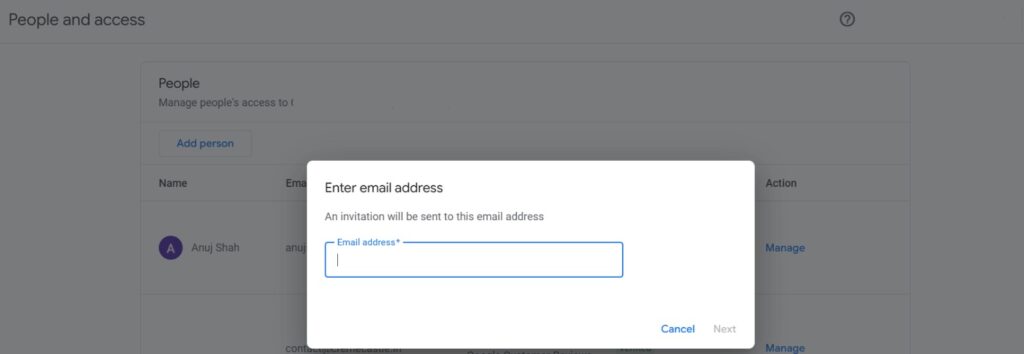
Setting up Google Merchant Center is a crucial step in leveraging Google’s eCommerce tools for better visibility and sales. By following this guide, you can smoothly create, verify, and manage your GMC account. If you face any issues during verification, check Google’s support resources or seek help from a professional.
For expert assistance in setting up and managing your Google Merchant Center, reach out to our team at Growth Accelerators!
Author
-
Tanya Sharma, Sr. SEO Executive at Growth Accelerators, brings 4 years of expertise in crafting innovative SEO strategies. With a keen eye for detail and a passion for staying up-to-date on the latest search engine trends, she helps businesses boost their online presence.
View all posts
